
Circuit breakers interrupt a circuit's power when the electricity flow exceeds safe levels. They trip when they sense more current drawing on the circuit than the breaker can handle. A tripped breaker prevents the wire from heating to dangerous levels by stopping electricity from reaching outlets, switches, and fixtures.
Addressing a tripped circuit breaker is simple. It involves resetting the tripped circuit breaker in the breaker box by flipping it entirely into the OFF position and then back to the ON position. However, if the circuit breaker does not stick in the ON position or appears damaged, it may be time for a circuit breaker replacement.
Although a licensed electrician is best suited for replacing a breaker, you can safely do it yourself. In today’s post, we will address everything you need to know about how to replace a circuit breaker switch, including determining if a breaker is tripped or needs replacing.
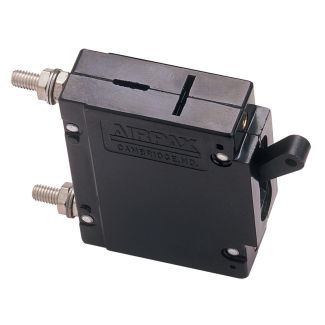
While Peerless is not in the "electrical" consumer or home market, the information provided here can be beneficial as an informative piece - enjoy!


Troubleshoot Before Circuit Breaker Replacement
If your appliances suddenly stop working during use, then the circuit breaker box can typically tell you why. When installed, circuit breaker boxes usually include labeling identifying which rooms or appliances feed into each circuit. So, your first step is to locate the circuit breaker box before determining if circuit breaker replacement is even necessary. After all, it could be a tripped circuit breaker rather than a bad breaker.
Identifying a Tripped Circuit Breaker
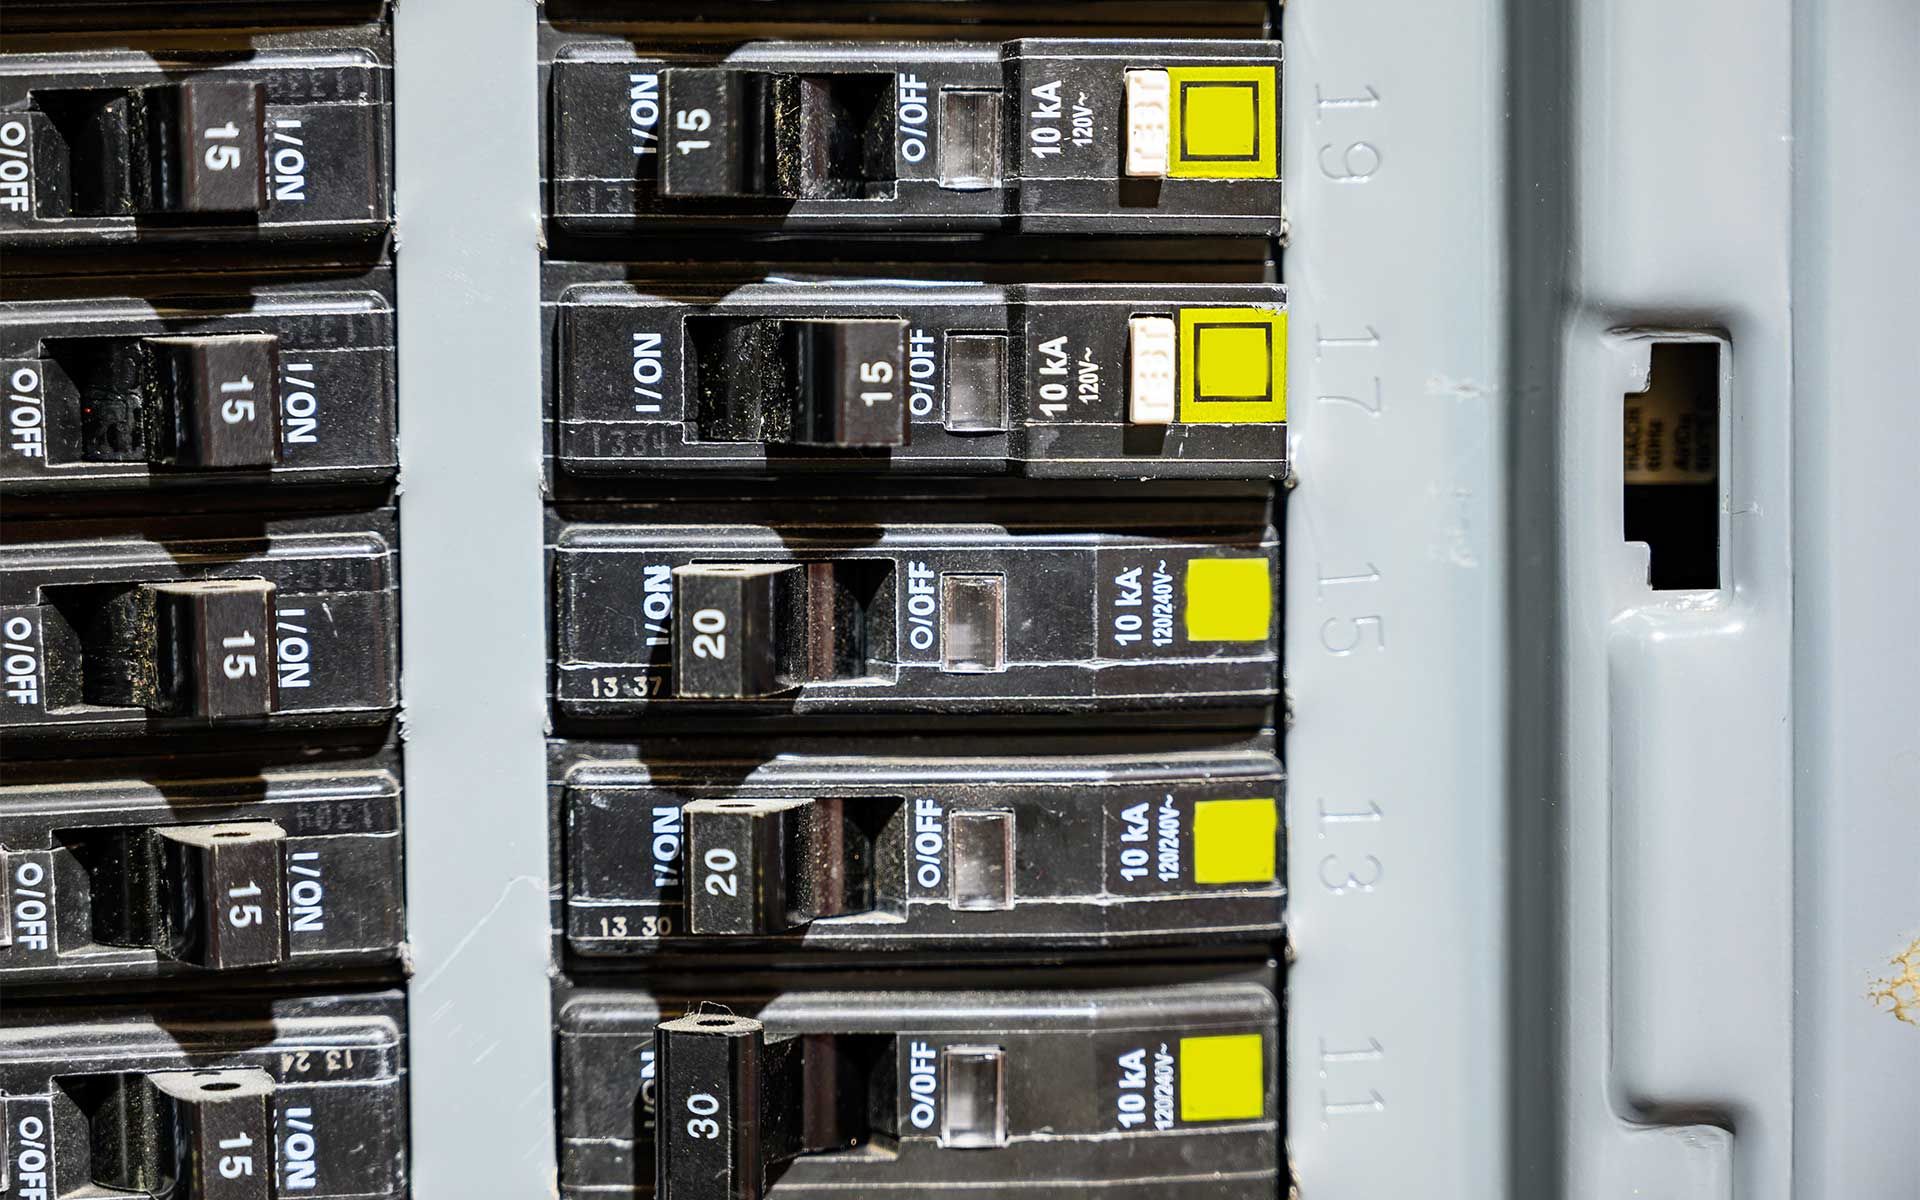
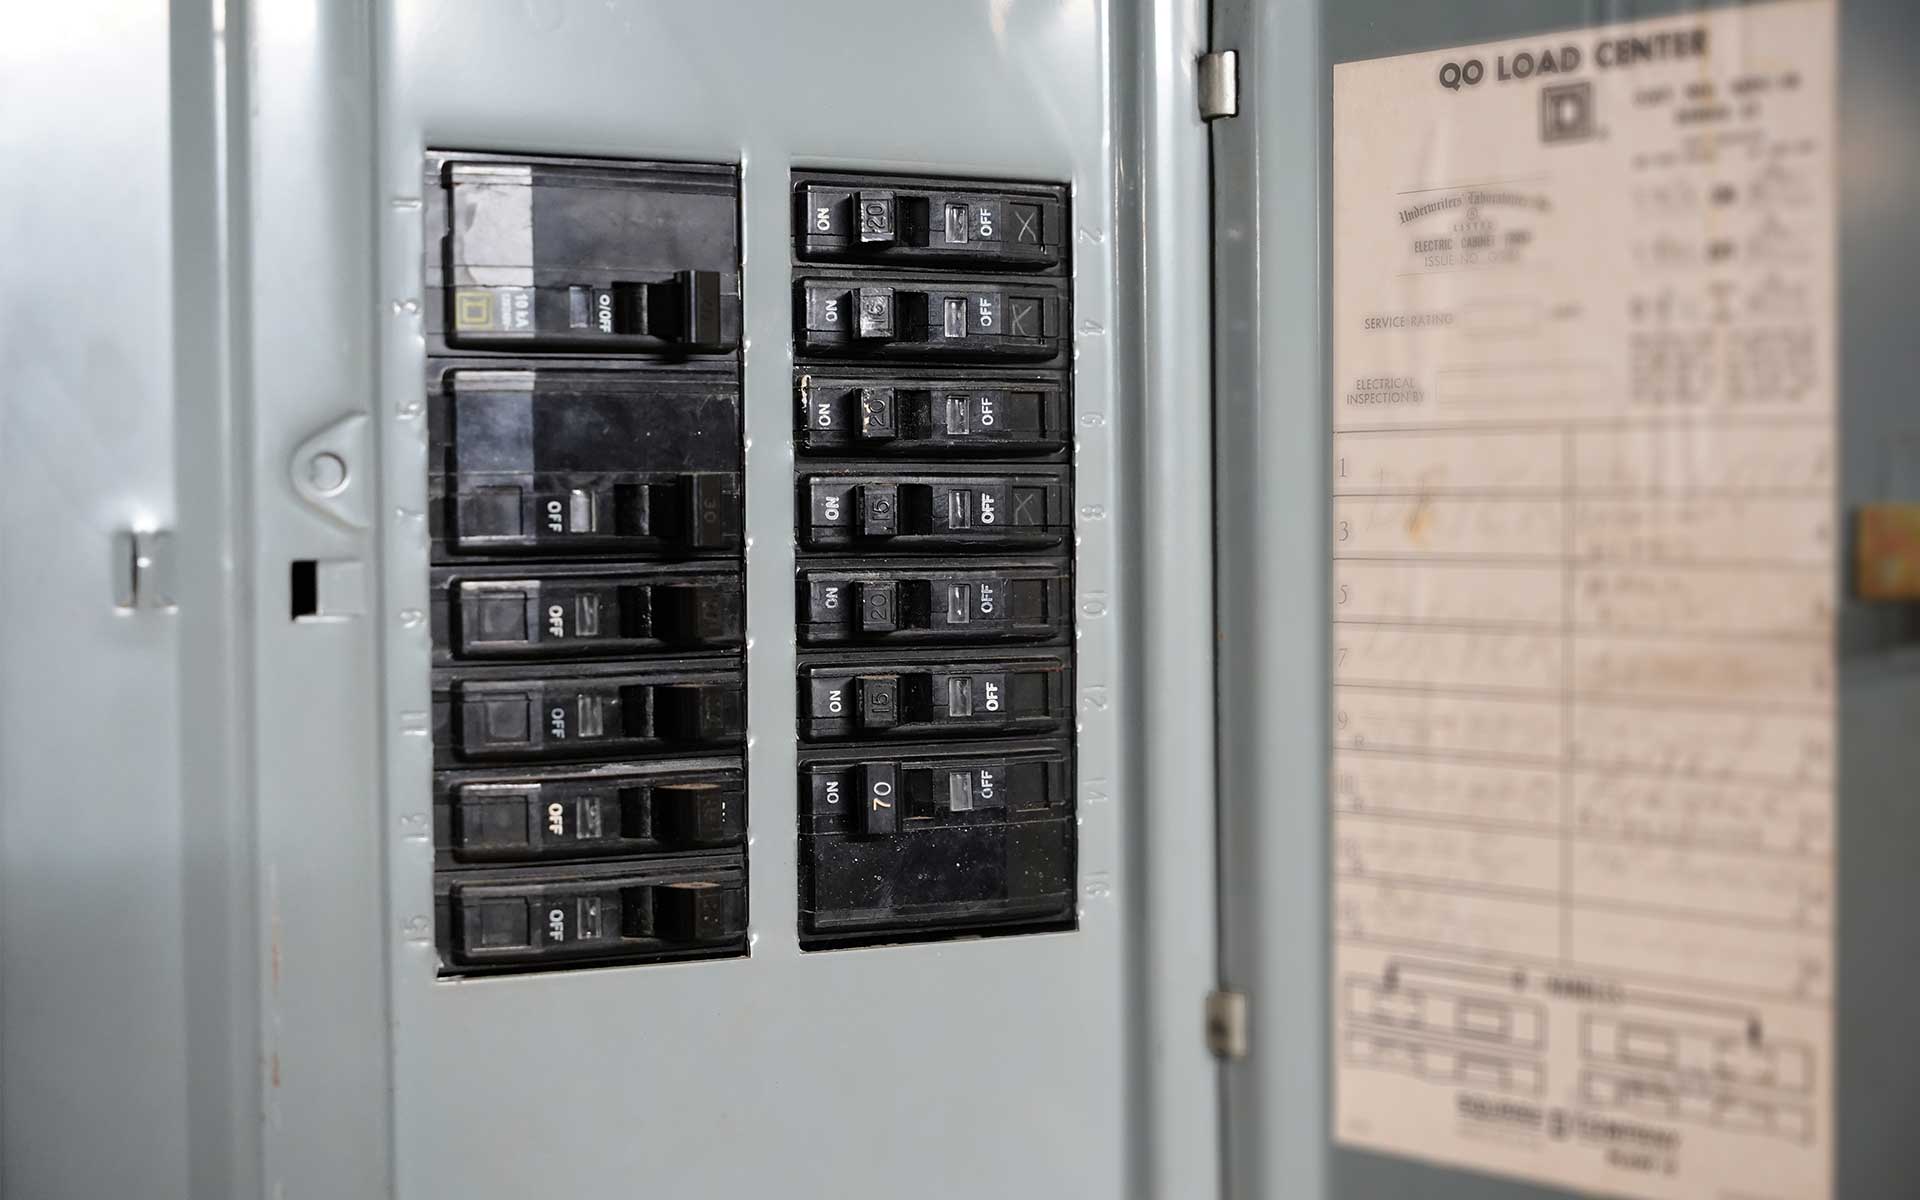
Many homes have more than one, so find the main circuit breaker box and the box with the tripped or broken circuit breaker (they may be in one box). When examining the breaker box, look for the circuit that corresponds to the area of your home having electrical problems. The switch on a tripped circuit breaker will rest between the ON and OFF positions. If it’s not immediately clear which one is affected, push all the switches toward the ON position until you encounter one that is springy and will not stay in the ON position. This one is the culprit.
Resetting a Tripped Circuit Breaker
To reset the circuit breaker, move the switch to the OFF switch position, then flip it back to the ON position. If it stays in the ON position, return to see if the electricity feeding that circuit is restored.
If resetting the tripped breaker switch solved the problem, it’s important to note that circuit breaker switches trip because the electric load exceeds the circuit breaker’s capacity. Therefore, if the circuit breaker is repeatedly tripping, consider contacting an electrician to run an additional circuit and install a second circuit breaker - or limit the appliances/electric load to that circuit.
When resetting does not fix the problem or the breaker appears damaged or faulty, it’s time for a circuit breaker switch replacement. The process of replacing circuit breakers is more involved and requires extreme caution. Before we explain how to replace a circuit breaker switch, let’s examine the cost of replacing circuit breakers.
How Much Does It Cost To Replace A Circuit Breaker
If replacing and installing a new circuit breaker switch is necessary, the costs will vary depending on whether you use a professional electrician or do it yourself. The cost to replace circuit breaker switches when using an electrician averages between $100 and $200, including parts and labor.
DIY circuit breaker repairs are cheaper since the main cost of installing a new breaker is purchasing a replacement switch. On average, 15- to 20-amp circuit breaker switches are about $5 to $15 each, with larger 20-amp switches running between $10 and $20 each. However, you must use an identical circuit breaker replacement part. Examine the old circuit breaker for listed amperage, codes, or numbers written on it—or take the old one to the hardware store to find an exact replacement.
Replacing Circuit Breaker - What You Need
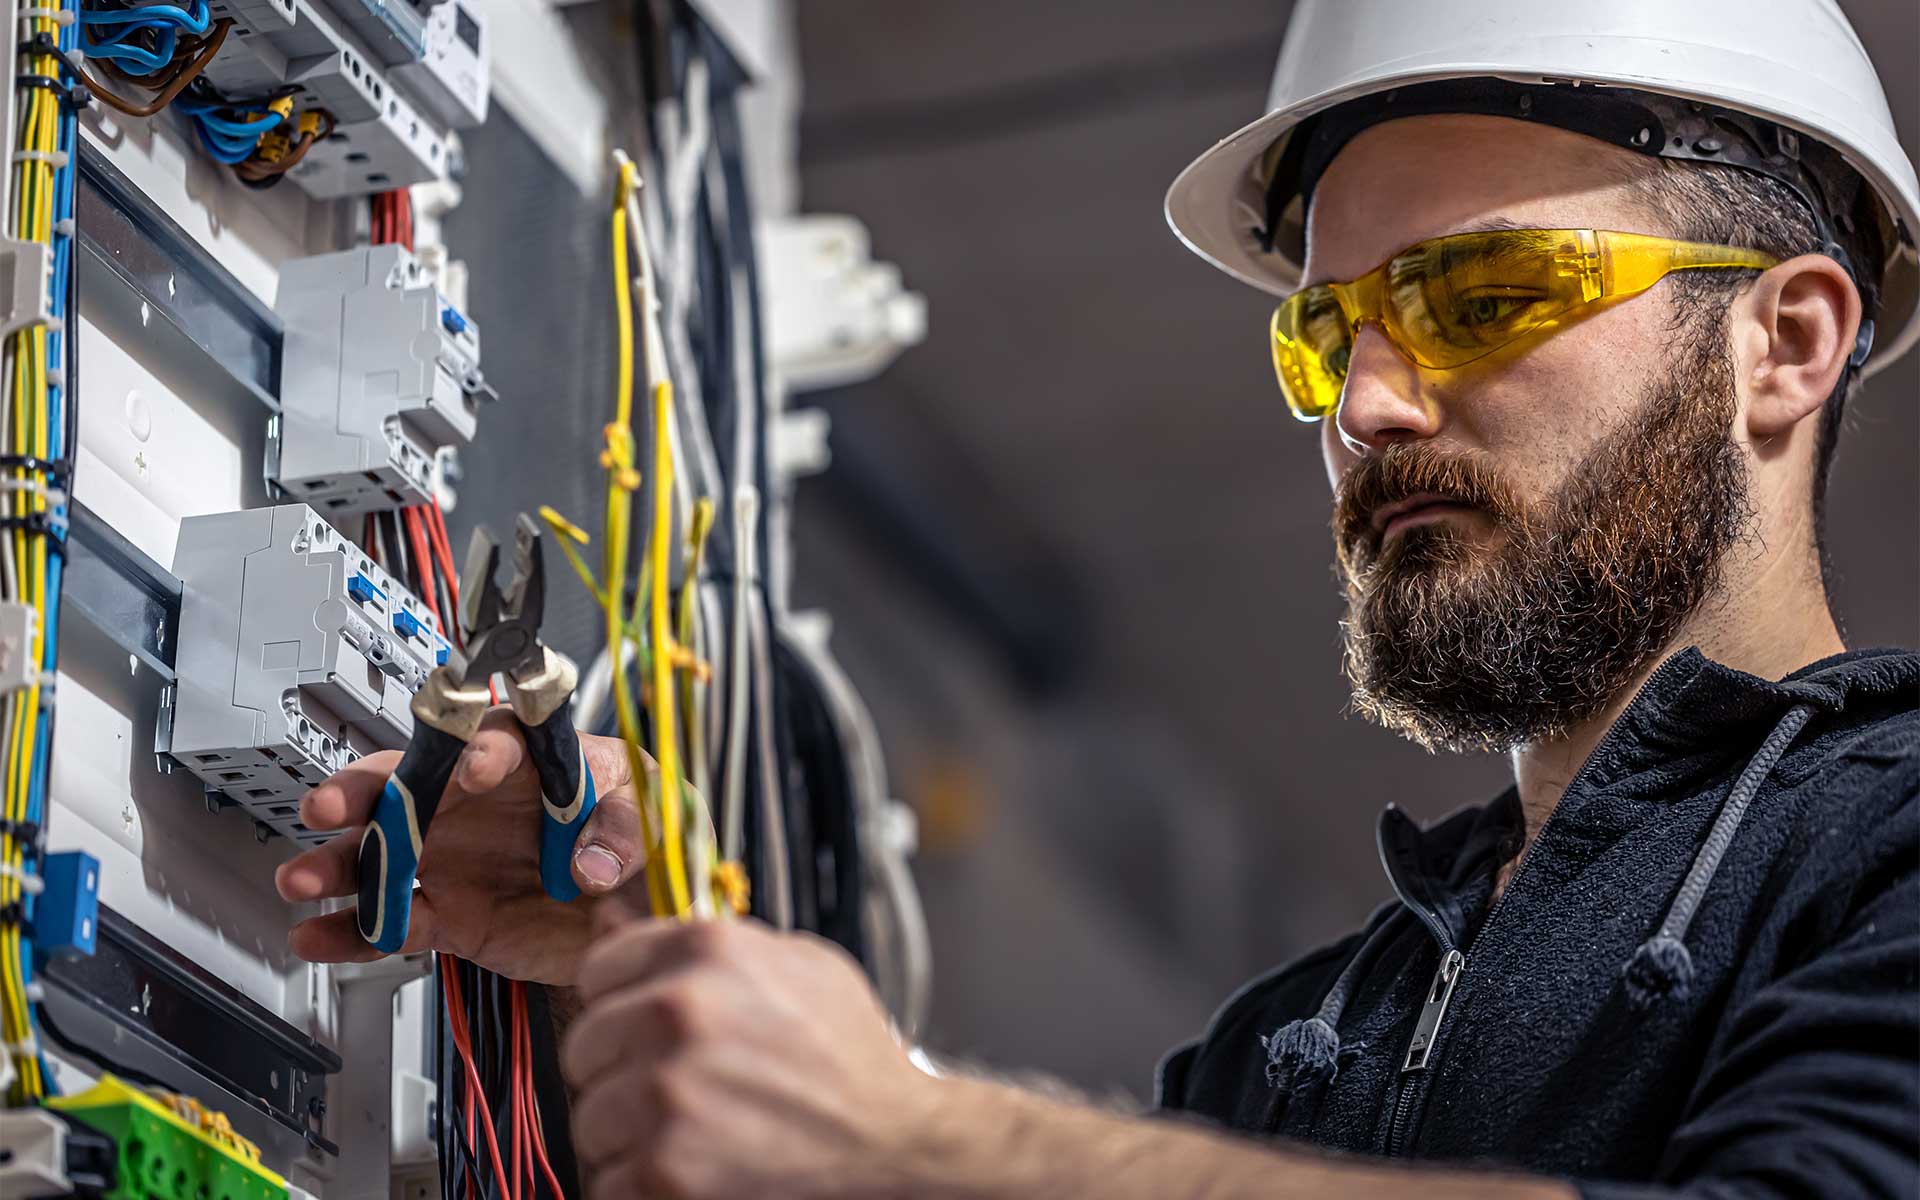
When installing a new breaker on your own, you will need several tools to do the job safely and effectively. Electricity can be hazardous, so using the right tools and extra caution is critical to safety. We recommend the following tools when installing a breaker in an electrical panel.
- Rubber-soled shoes, boots, or a rubber mat for grounding
- Rubber-insulated screwdrivers
- Rubber-insulated needle nose pliers
- An alternative light source for visibility
- A multimeter voltage tester for checking the continuity of a breaker
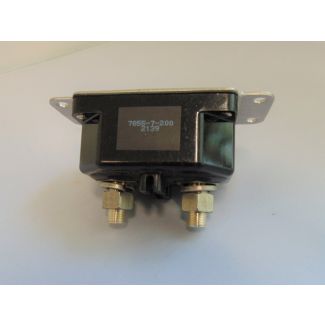
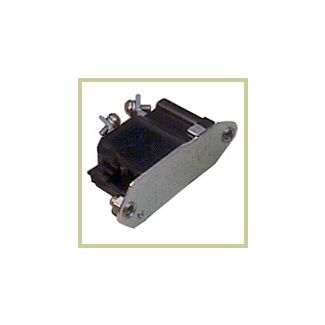
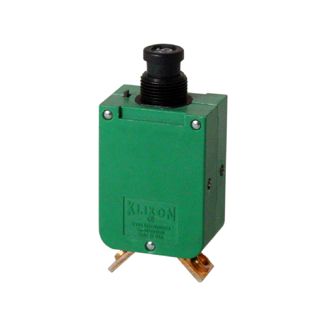
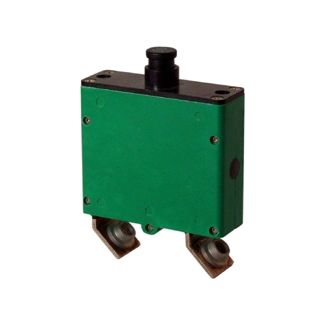
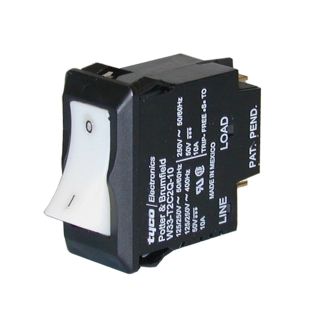
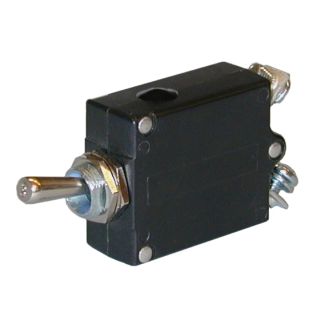
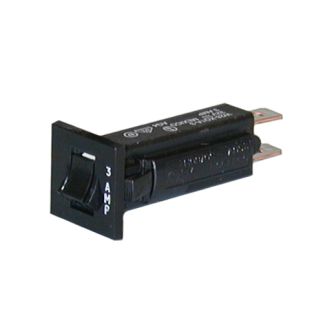
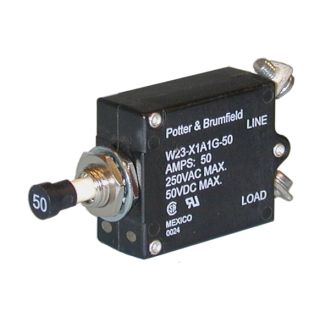
- A replacement circuit breaker (must be the same type and amperage)
How to Replace a Circuit Breaker Switch
Fixing a breaker involves several steps, and each one should be approached thoughtfully and carefully to ensure safety during a new circuit breaker installation.
Step 1 - Inspect the Breaker Box
Before changing a breaker in a breaker box, inspect the box itself to ensure it isn’t damaged. If signs of damage or contamination, such as rust, discoloration, moisture, or charring, appear, call an electrician. A damaged breaker box often indicates a more significant problem that a certified professional should handle.
Step 2 - Turn Off the Power
Before the circuit breaker replacement begins, ensure you have turned off all the power running into the breaker box. When applicable, turn off the power at the main box and any branch boxes, beginning with the main box. If there is only one circuit breaker box, turn off the main power switch first, followed by all breaker switches (to the OFF position).
Working with live electricity is very dangerous, even for professionals. Therefore, shutting off the power before replacing circuit breaker switches is critical to safety.
Step 3 - Unscrew Breaker Box Faceplate
Full access to the breaker fuses and their wires is necessary to replace circuit breaker switches. Therefore, you must remove the breaker box faceplate. Use a rubber-insulated screwdriver to unscrew the faceplate. Be sure to carefully lift the panel cover off without touching anything inside the box, especially the wires. Place the faceplate and its screws safely nearby while replacing circuit breakers.
Step 4 - Check for Interior Damage
After removing the faceplate, inspect the entire circuit breaker box for any signs of damage before installing a new breaker. If anything unusual catches your eye, call a licensed electrician. Look for the following: rust, debris, moisture, loose wires, melting, discoloration, charring, heat marking, or strange wiring (i.e., multiple wires connected to one screw).
Step 5 - Check for Any Current
Any research on how to replace a blown fuse in a circuit breaker emphasizes how dangerous working around live electricity is for professionals and DIYers alike - for good reason. Therefore, double-checking that no current is running before handling circuitry is critical.
Using your multimeter voltage tester, ensure no active current is present before installing a circuit breaker. Begin by touching one lead to the terminal screw of the faulty circuit breaker and the other on the ground screw at the side of the box. The multimeter reading should indicate no voltage.
Step 6 - Changing a Circuit Breaker
Once you’ve verified it's safe, you can begin installing a new breaker. Again, the replacement breaker must be identical to the original, including brand, type, and amperage.
Depending on how it is attached, gently unscrew the faulty circuit breaker or lever it from its socket. Begin lifting the side facing toward the center of the breaker panel. Most circuit breaker fuses connect to one or two wires, so detach these by loosening the terminal screws with your insulated screwdriver. Be sure to take a picture of the blown breaker or note which color wire attaches to which end of the fuse before loosening.
Once the wire is loose, gently detach it from the circuit breaker. For safety, either tuck the wire into the box or attach a write cap until ready to attach it to the new circuit breaker. After removing the wires, the bad breaker switch is inactive. You can dispose of it in the regular trash.
Step 7 - Replace Circuit Breaker
Replacing circuit breaker switches is similar to installing a new ink cartridge in an inkjet printer. Begin by positioning the end without a screw under the hook on the breaker box. Next, pivot or push the breaker switch replacement down until you hear it click securely into place.
Next, ensure the circuit breaker replacement is in the "off" position before reattaching the wires and tightening the retaining screws with an insulated screwdriver. You can use insulated needle nose pliers to help safely hold the wires in place. Be sure to avoid overtightening - this could damage the wires. Also, ensure the wire insulation is not touching the circuit breaker or screws, as the rubber could melt over time. If there is any excess wire, gently fold it, tucking it along the side of the panel.
Again, be careful not to touch the panel's other wires or metal parts during fuse breaker replacement. If anything feels uncomfortable, please call an electrician to help.
Replace the box plate once the circuit breaker fuse replacement is safely attached and wired. Gently lift it back into place and screw it on using the original screws. If any of the faceplate screws went missing, find replacement screws of the same length to reattach the plate.
Test the New Circuit Breaker
Next, turn the power back on and test the breaker replacement. First, turn the main power back on, followed by each circuit breaker individually.
Check the area or appliances connected to the breaker switch replacement to ensure power is restored and running. If you unplugged appliances at the beginning of the process, plug them back in individually to test the circuit. If problems occur or persist after installing a new circuit breaker, consider calling a licensed electrician for help.


Conclusion
Hopefully, today’s article on how to replace a bad circuit breaker helped give you the confidence to tackle the task. Remember, working with electricity is risky, even for experienced electricians. Always turn off the main power before replacing a broken circuit breaker. Also, wear rubber-soled shoes to ground yourself throughout the process.
Using caution every step of the way can help keep you safe. However, if changing a breaker still feels intimidating, contact a licensed electrician to do the work instead.
Circuit Breaker Replacement FAQs
How do you know if a circuit breaker is bad?
If a circuit breaker continuously trips or does not reset after tripping, it may be faulty and need replacing. Other faulty circuit breaker symptoms include physical damage, rust, or corrosion. When in doubt, contact a licensed electrician for help.
How to replace a bad circuit breaker?
This article gives step-by-step instructions on how to replace a circuit breaker switch. If any steps need clarification, please contact a licensed electrician for circuit breaker repairs rather than attempting it alone.
Can I replace a circuit breaker myself?
Yes, replacing circuit breakers can be done without the help of an electrician. However, for safety reasons, we recommend always having another person nearby or on the phone throughout the process. Also, if confusion arises when researching how to replace a blown fuse in a circuit breaker, it’s probably best to call an electrician for breaker circuit replacement.
Can you replace a circuit breaker without turning off the main breaker?
No, it is not safe. Always turn off the main power before installing a breaker in an electric panel.
How much does it cost to replace a circuit breaker?
On average, 15-—to 20-amp circuit breaker switches cost between $5 and $15 each, with larger 20-amp switches running between $10 and $20 each. If you hire a professional electrician for circuit breaker replacement, expect to spend around $100-$200, which includes parts and labor.