Solenoids are hard-working electrical devices critical to initiating or enabling various mechanical and electrical processes. On a daily basis, we encounter solenoids in action - from switching on lights to using sensor-activated sinks in public restrooms. Solenoids are basic components that generate mechanical motion, which is essential to operating their intended applications. Therefore, it’s important to test solenoids to ensure they are ready to work as expected - efficiently and safely.
Do you know how to test a solenoid? If not, today’s post will cover what you need to know. We will cover various methods to test the solenoid, including when and some guidance on how to test a solenoid valve.
When Do You Need to Test a Solenoid?
Solenoid testing is critical to application functioning under varying circumstances, which is why knowing how to test a solenoid coil is so important. Solenoids, though small, are essential to many electrical and mechanical functions across industries and applications. Solenoids, like any electrical device, should be tested before application installation, often referred to as bench testing, which we will explain in more detail later.
Therefore, testing solenoids is critical in the following situations to avoid any potential issues that may cause safety hazards or system failure.
- New installment or replacement
- Scheduled maintenance
- Performance issues
- System troubleshooting
- After significant environmental changes, like extreme temperature fluctuations or exposure to moisture
- Preventative testing when required
Locating the Solenoid
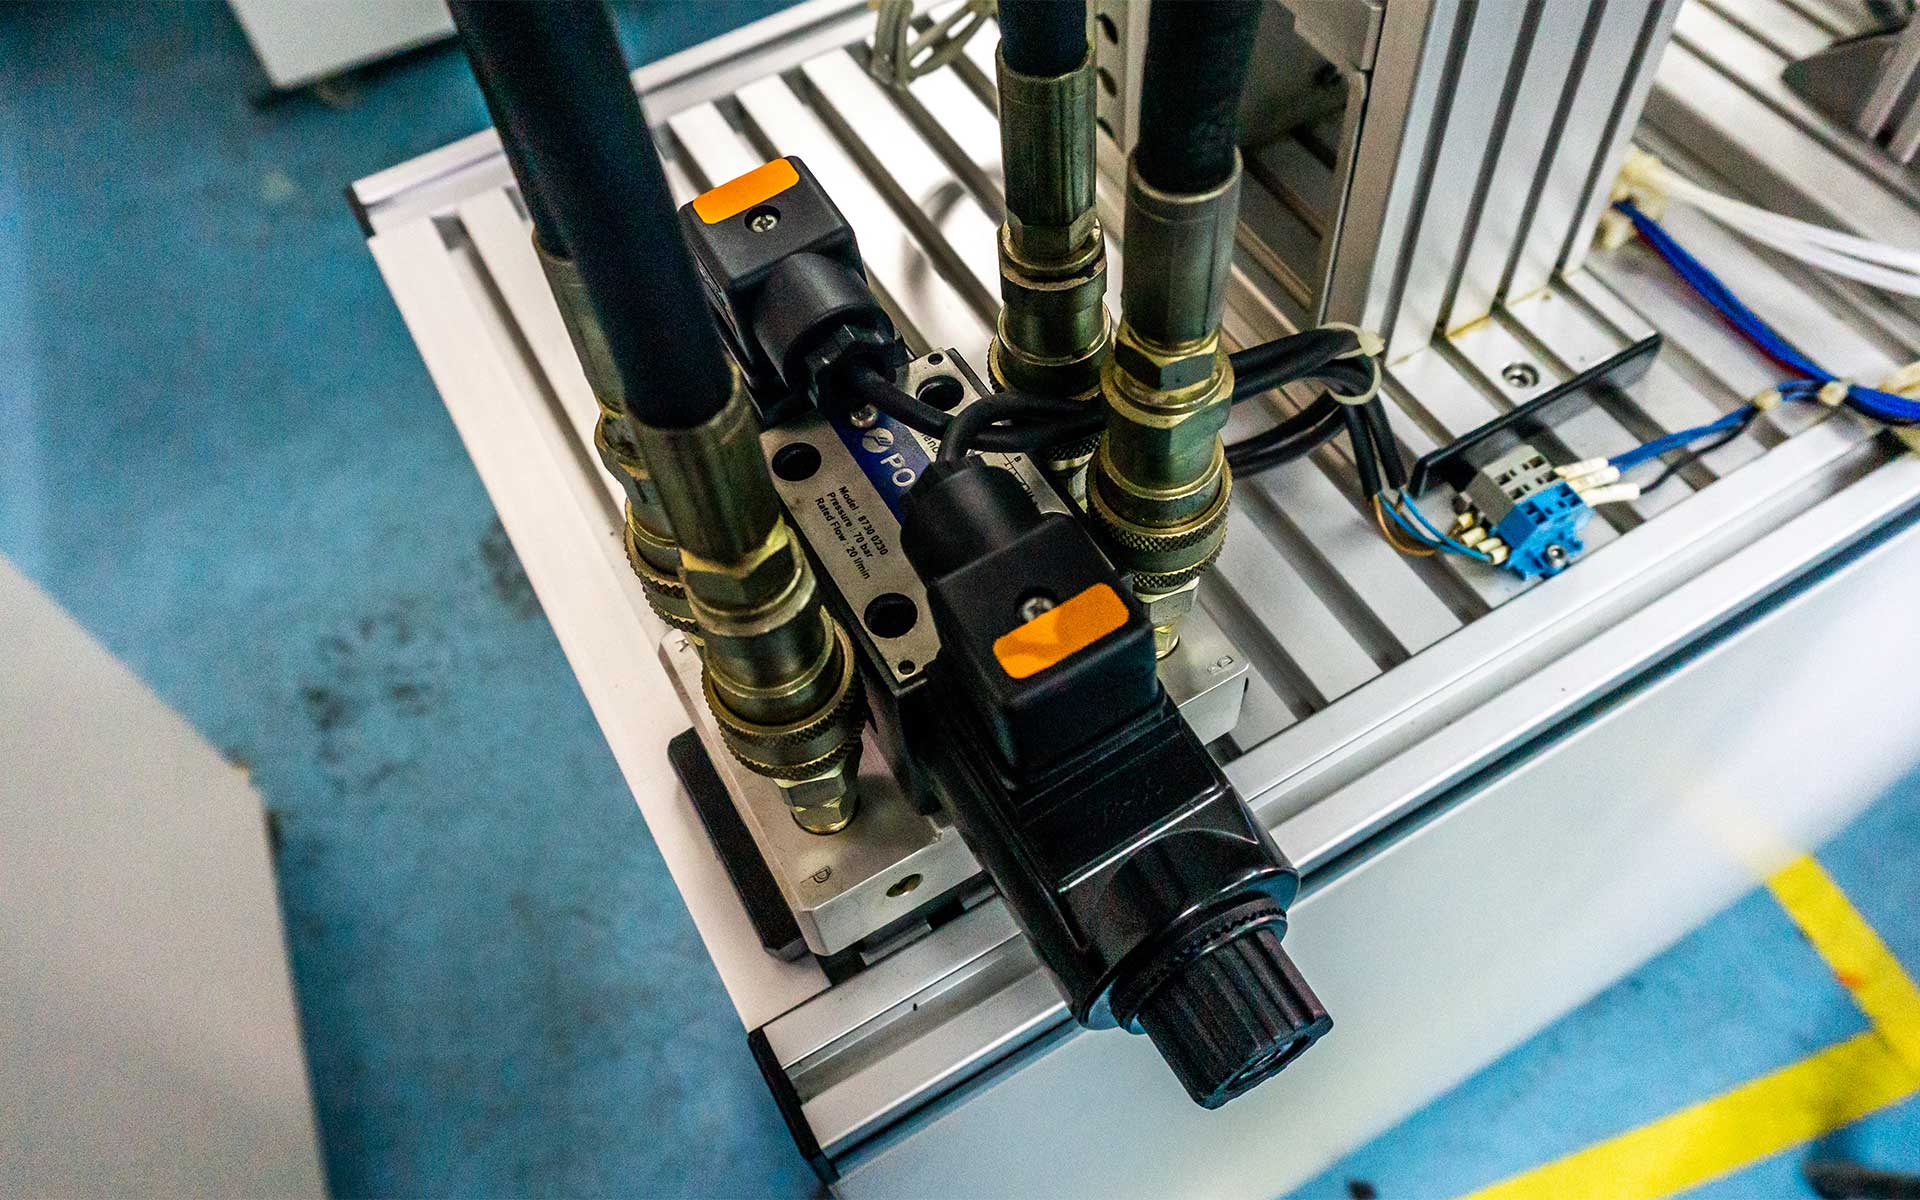
Before explaining how to test a solenoid, let’s discuss locating the device—which isn’t always as straightforward as it seems. If the solenoid’s location is unknown, locating it within an application depends on the complexity of the system, the accessibility of components, and familiarity with the system's layout.
Following are some tips to help if locating the solenoid is challenging:
- Get to know the physical appearance of the solenoid you are looking for, such as its size, shape, and connection points.
- Refer to the system diagrams or user manuals, which often show the location and wiring of solenoids.
- Use the solenoid’s function (e.g., relay switching, valve actuation, locking mechanism) to narrow down its location.
- Trace the wiring from the control panel or power source to locate the solenoid.
- Listen for activation, which will be an audible click.
How to Bench Test a Solenoid
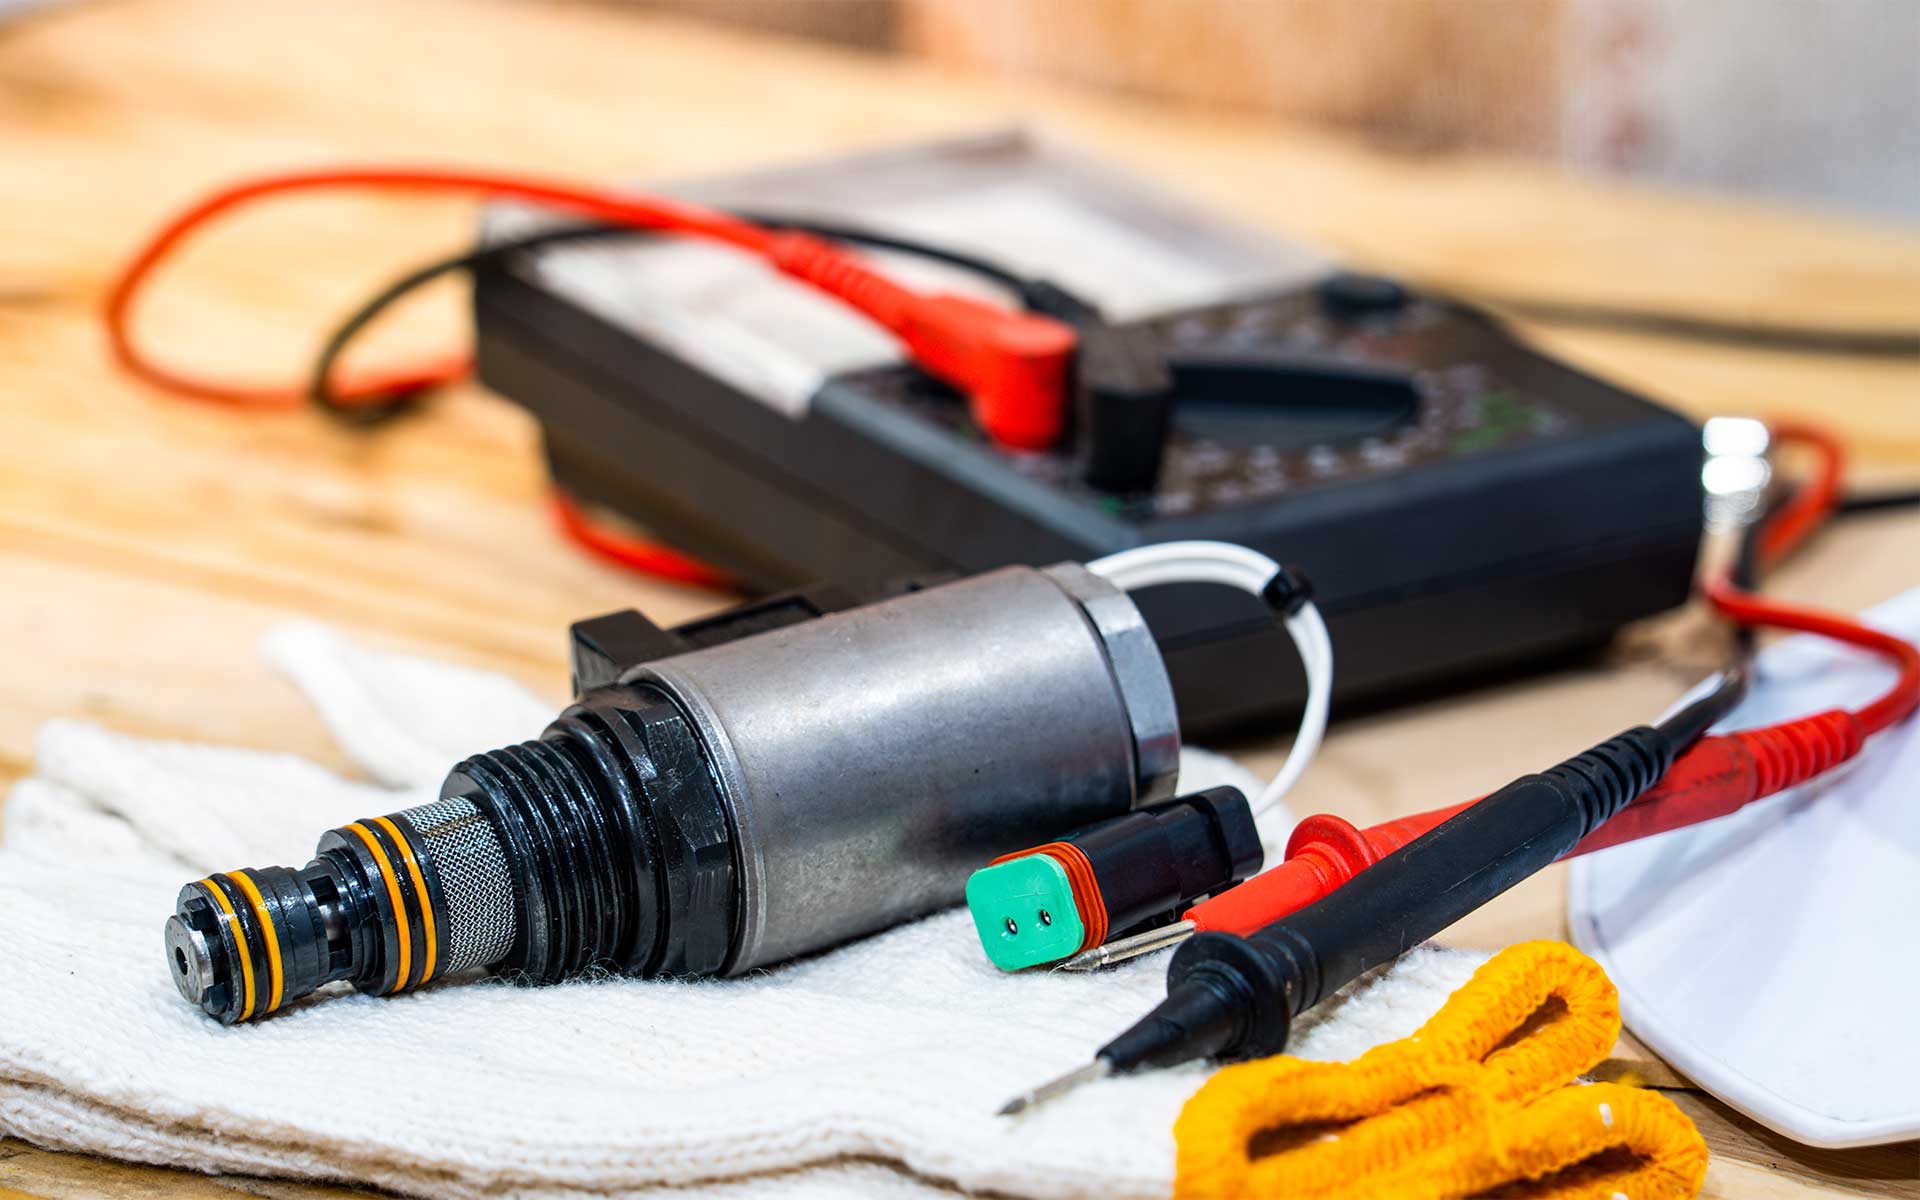
Bench testing occurs before solenoid application installation to verify its electrical or mechanical integrity. To get started, you will need the following items: a power source matching the solenoid’s voltage requirements, wires with alligator clips, a multimeter to measure the voltage and current, safety gear (gloves and protective eyewear), and a stable surface, like a bench or table.
Step 1: Identify the positive (+) and negative terminals (-) on the solenoid.
Step 2: Set up the power source, ensuring it is OFF before making connections.
Step 3: Connect one end of the wire with an alligator clip to the positive terminal of the solenoid and the other end to the positive output terminal of the power supply. Repeat the process with the negative terminal of the solenoid, connecting it to the negative output terminal of the power supply.
Step 4: Turn on the power to energize the solenoid and listen for a noticeable click or watch for visible movement of the plunger.
Step 5: Measure the voltage across the solenoid terminals with the multimeter to verify it matches the power supply output.
Step 6: Document the results before shutting off the power and disconnecting the wires from the solenoid terminals.
How to Test if a Solenoid With the Click Test
A click test helps audibly determine if a solenoid is functioning correctly. This is the simplest way to test a solenoid. It involves listening for a clicking sound, which indicates that the solenoid is engaging and attempting to send power to the starter motor.
Following are step-by-step instructions for performing a click test with a linear solenoid. Safety gear, like gloves and goggles, are recommended before beginning.
Step 1: Ensure safety by turning off the power to the solenoid’s circuit. Wear safety goggles and gloves throughout the process.
Step 2: Locate the solenoid (depending on it’s application, you may need to remove covers or panels for access).
Step 3: Visually inspect the solenoid for signs of damage, corrosion, or loose connections. The wiring tot eh solenoid should be intact and securely connected.
Step 4: Prepare to turn on the power source to test the solenoid. Before activating the power, ensure the power source (battery or power supply) matches the solenoid’s voltage rating
Step 5: Activate the power source or the switch that controls the solenoid. Listen. If you hear a clicking sound coming from the solenoid, then the plunger is moving. If possible, visually confirm the plunger is activated. Here’s how to interpret the audible results:
- Single Click: If you hear one loud click when the solenoid is energized, it indicates the plunger is moving and the solenoid is functioning correctly.
- Rapid Clicking: This can indicate an issue with the power supply (like inefficient voltage) or a problem with the control switch.
- No Click: No audible click often indicates the solenoid is not receiving power or an internal like a broken coil or mechanical blockage.
How to Test a Solenoid with a Multimeter


Solenoid multimeter testing involves checking its electrical resistance and verifying the continuity of the coil to ensure it is functioning correctly. Multimeter testing accurately measures electrical properties like resistance, continuity, and voltage, which can help diagnose the functionality and identify faults in solenoids, ensuring they operate correctly in their applications.
To perform a multimeter test, you will need a digital or analog multimeter, any necessary tools to access the solenoid, and the solenoid user manual or data sheet to reference its resistance values.
Step 1: Ensure safety by turning off any power to the solenoid and disconnecting it from the circuit to avoid electrical hazards.
Step 2: Locate the solenoid.
Step 3: Turn on the multimeter and set it to ohms (Ω), which measures resistance.
Step 4: Find the solenoid's terminals—the solenoid coil typically has two main terminals. Place one multimeter probe on one terminal of the solenoid coil and the other probe on the opposite terminal. Read the resistance value displayed on the multimeter.
Step 5: Compare the readings with the specified resistance range in the solenoid's user manual or datasheet. The resistance readings should fall within this range.
- A very high resistance (infinite or no continuity) indicates an open coil, which means the solenoid is likely faulty.
- A very low resistance (close to 0 ohms) indicates a shorted coil, which is also a faulty indication.
How to Test a Solenoid With a Battery
Don’t have a multimeter on hand? That’s not a problem. Here is how to test a solenoid without a multimeter using a battery instead. Testing with a battery is a straightforward method to check if the solenoid correctly activates when power is applied. To test a solenoid utilizing this method, you will need a battery that matches the solenoid’s voltage rating, insulated jumper wires with alligator clips, and protective safety gloves and goggles.
Step 1: Ensure safety by turning off any power to the solenoid and disconnecting it from the circuit to avoid electrical hazards.
Step 2: Find the solenoid's terminals—the solenoid coil typically has two main terminals.
Step 3: make sure the battery is fully charged and matches the voltage rating of the solenoid. For example, a 12V solenoid will use a 12V battery.
Step 4: Connect the battery to the solenoid using the insulated jumper wires with alligator clips. Connect the positive terminal of the battery to one of the solenoid's coil terminals and the negative terminal of the battery to the other coil terminal.
Step 5: When the battery is connected, the solenoid should activate, emitting an audible clicking sound. No audible clicking typically indicates a faulty solenoid.
Step 6: Once finished, disconnect the jumper wires from the battery and the solenoid.
How to test a Solenoid Valve


A solenoid valve is a specific type of valve that operates with a solenoid. It controls the flow of fluids or gasses by opening or closing a valve mechanism in response to an electrical signal. The same tests described above also apply to solenoid valve testing.
In fact, the methods we have described can apply to all types of solenoid testing, including how to test a transmission shift solenoid, how to test a shift solenoid, or how to test a humidifier solenoid. Just remember to use caution when attempting to test the solenoid by disconnecting power sources and the solenoids from circuits for safety.
High-Quality, Reliable Solenoids from Peerless Electronics
Peerless Electronics is a full-service, authorized stocking distributor for leading electrical manufacturers and suppliers. We carry a wide range of solenoids, solenoid valves, and solenoid valve coils for applications and systems in industrial electronics, military and defense, aerospace, and other industries. Not only do we stock thousands of products and devices, but their purchase is supported by over 50+ Value-Added Services, including custom-tailored technical support.
Conveniently shop high-quality solenoids at Peerless Electronics today!
Common FAQs On How To Test A Solenoid
How do I know if my solenoid is bad?
A rapid clicking or no clicking upon starting or activation indicates a faulty solenoid. Performing the tests outlined above can determine if your solenoid is functioning correctly or needs to be repaired or replaced.
How many ohms should a solenoid have?
A solenoid's ohms (resistance) varies depending on its design and application. Generally, factors such as the wire gauge, the number of turns in the coil, and the solenoid's intended operating voltage and current determine its resistance.


